Installing drainage pipe requires proper assessment and planning before breaking ground. First, evaluate your property’s slope and mark the route with a 1% grade minimum. Dig trenches 12″ wide and 10-18″ deep, maintaining consistent slope throughout. Place a gravel bed before laying your PVC or HDPE pipes, connecting sections with appropriate fittings. Backfill in 4-6″ layers, compacting each to 90-95% density. The following steps will transform your waterlogged yard into properly drained terrain.
Key Takeaways
- Plan your drainage route by marking with stakes and ensuring a minimum 1% downward slope for proper water flow.
- Dig trenches 12 inches wide and 10-18 inches deep, maintaining consistent slope throughout the entire system.
- Prepare the trench bottom with 2-3 inches of gravel or sand before laying drainage pipes.
- Connect pipe sections using appropriate fittings (couplers, elbows, tees) and secure all joints properly.
- Backfill in 4-6 inch layers, compacting each layer thoroughly to 90-95% density for stability.
Assessing Your Property’s Drainage Needs

Before installing any drainage pipe, you must thoroughly assess your property’s specific drainage requirements to guarantee an effective and durable solution.
Begin with a visual inspection to identify water accumulation areas and signs of erosion. Evaluate your soil’s permeability to determine how efficiently it absorbs water.
Start with a thorough site analysis—find pooling water and assess soil absorption before any drainage installation begins.
Consider your property’s slope and topography, as these factors greatly influence water flow patterns. Check for any history of drainage problems that might indicate underlying vulnerabilities.
A detailed drainage assessment should include runoff calculations using the Rational Method. Use tools like GIS mapping or HydroCAD software to analyze terrain and predict drainage needs accurately. Additionally, consulting with a drainage specialist can provide valuable insights tailored to your local conditions and unique challenges.
Planning and Marking Your Drainage System

Three critical phases define effective drainage system planning: analysis, mapping, and marking. Begin by determining your drainage area using topographic maps to understand elevation contours and water flow patterns. Assess soil types and impervious surfaces to optimize system design.
| Planning Element | Consideration |
|---|---|
| Pipe Material | PVC, HDPE, clay |
| Slopes | Minimum 1% grade |
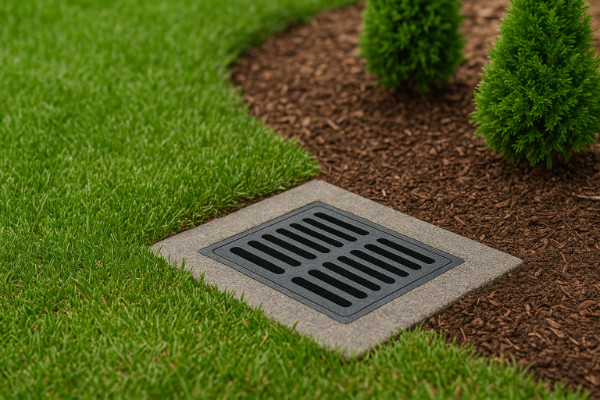
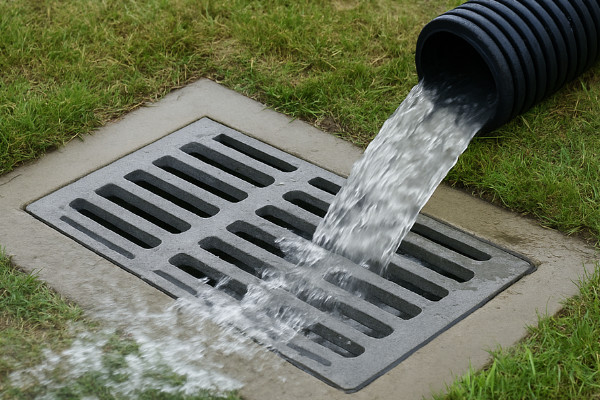
| Catch Basins | Strategic placement |
| Utility Lines | Avoid interference |
Once you’ve finalized your design, mark the route using stakes and string. Indicate pipe locations, catch basins, and changes in direction. This visual reference will guide your excavation and prevent costly errors during installation.
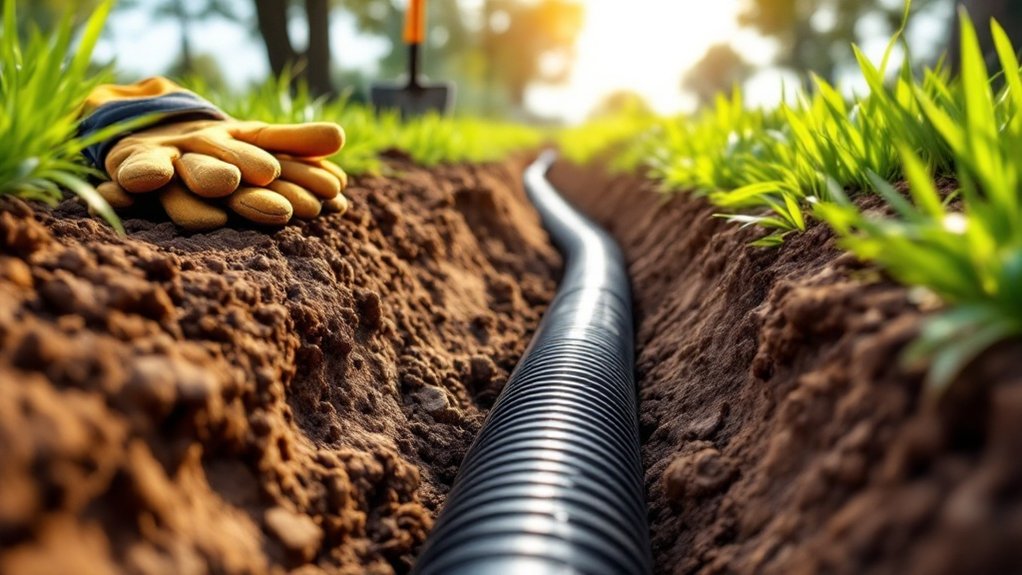
Digging and Preparing Trenches

Properly excavating and preparing drainage trenches requires precise attention to dimensions, slope, and soil conditions.
Dig trenches approximately 12 inches wide and 10-18 inches deep, maintaining a consistent 1% slope (1/8 inch per foot) throughout.
Use specialized tools like trenching spades or mechanical trenchers for efficient excavation.
Proper tools make all the difference—choose trenching spades or mechanical trenchers to maximize efficiency and precision.
When digging, work backwards along the trench line to leverage your body weight. Create clean, vertical sides and remove all excavated soil and debris.
Prepare the trench bottom with a layer of gravel or sand before pipe installation.
Always check for underground utilities first and wear appropriate safety gear during excavation techniques.
Installing and Connecting Drainage Pipes
Once your trench is excavated and prepared with the correct slope and base layer, you’ll need to focus on the actual pipe installation process.
Select appropriate pipe materials based on your drainage needs—PVC, HDPE, or steel-reinforced thermoplastic. Lower pipes carefully into the trench to prevent damage, especially with plastic varieties.
Maintain proper line and grade throughout installation to guarantee effective water flow.
When connecting drainage pipes, use proper connection methods like couplers, elbows, or tees. Seal all joints thoroughly to prevent leaks.
For manholes or connections between dissimilar pipe materials, follow specific procedures. After installation, conduct thorough inspections to verify system integrity before backfilling with the minimum required cover.
Backfilling and Finalizing Your Drainage System
After all pipes have been correctly installed and inspected, backfilling your drainage trench requires careful execution to confirm long-term system performance.
First, remove standing water and debris from the trench. Select appropriate backfill material based on your site’s drainage techniques requirements.
Thorough preparation before backfilling ensures system integrity—clear the trench and choose site-appropriate materials for optimal drainage.
Apply backfill in 4-6 inch layers, compacting each thoroughly before adding the next. Proper soil compaction prevents future settlement issues—aim for 90-95% maximum density. Water down the material to facilitate settling.
Finally, test your drainage system to verify flow, check for leaks, and ascertain all connections are secure.
Schedule regular inspections to maintain ideal performance.
