To waterproof your basement exterior, start by excavating around the foundation. Ensure you reach at least 8 feet deep and remove soil below the frost line. Then, install moisture barriers like dimple boards or membrane wrapping.
Next, set up a drainage system with footer drains and a sump pump to redirect groundwater. Finally, backfill carefully and maintain the final grade to direct water away.
There’s more to take into account for a successful project, including costs and maintenance tips.
Key Takeaways
- Excavate the perimeter to a depth of 8 feet, ensuring access to foundation footings and maintaining space for maneuverability.
- Install a moisture barrier using dimple boards or membrane wrapping to protect the foundation from water intrusion.
- Set up a drainage system with footer drains and a sump pump to redirect groundwater effectively and remove accumulated water.
- Backfill in layers, compacting soil to prevent settling, and ensure the final grade directs water away from the foundation.
- Regularly inspect installed systems for damage and functionality to maintain effective waterproofing over time.
Preparation and Excavation
When you’re preparing to waterproof your basement from the outside, the first step is excavation.
Dig down to your foundation footings, typically up to 8 feet deep. Verify you create several feet of workable space around the walls for maneuverability.
Excavate down to your foundation footings, ensuring ample space around the walls for ease of movement.
Excavate the entire affected perimeter to maintain uniform coverage. Remove soil down to below the frost line to prevent shifting.
Use appropriate machinery, like excavators or backhoes, to facilitate the process efficiently.
Before you start, check local building codes for necessary permits and consider weather conditions to verify ideal working conditions during your project. Additionally, it’s essential to understand that professional waterproofing systems are recommended for long-term effectiveness.
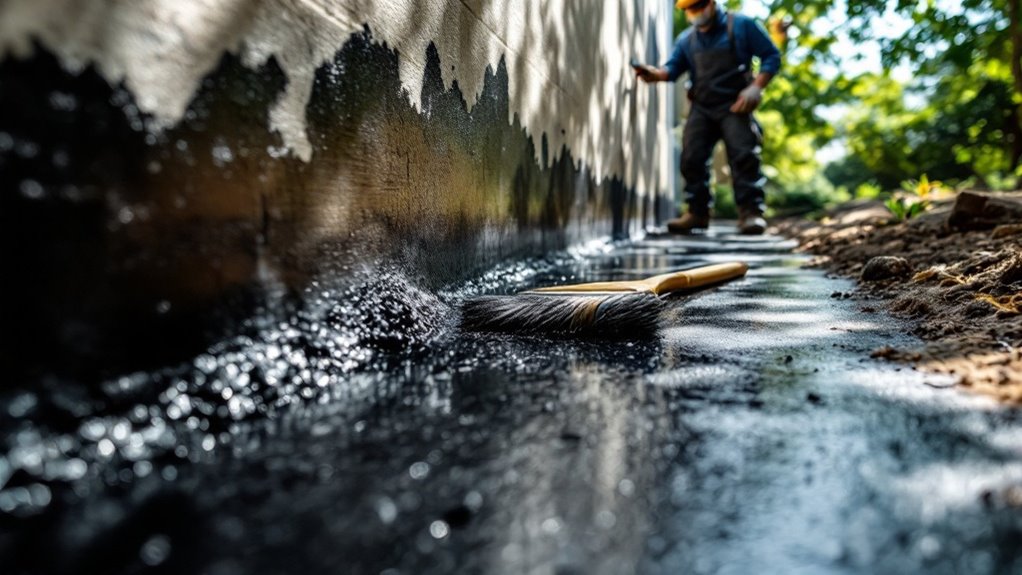
Moisture Barrier Installation
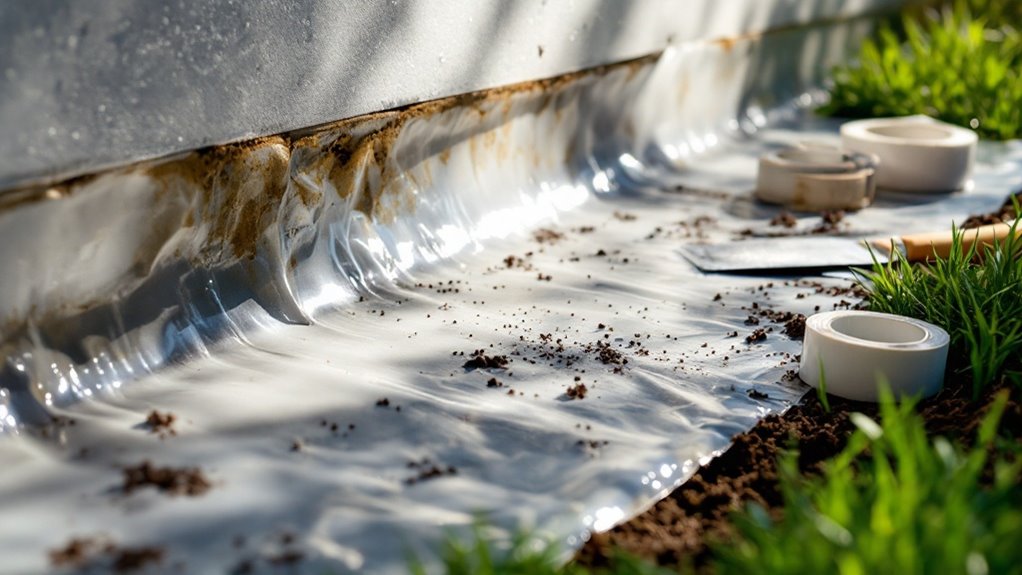
When installing a moisture barrier, you’ll often use dimple boards or membrane wrapping techniques to guarantee effective protection against water intrusion.
Dimple boards create an air gap that directs water away from the foundation, while membrane wrapping provides a continuous layer of defense.
Understanding these methods is essential for achieving a waterproof basement.
Dimple Board Application
Dimple board application serves as an important step in establishing an effective moisture barrier for your basement. By following these key installation steps, you’ll guarantee ideal performance:
- Surface Preparation: Clean foundation surfaces to enhance adhesion.
- Attachment Methods: Use concrete nails for poured foundations or screws for insulated concrete forms.
- Directional Alignment: Install dimples outward to maintain drainage functionality.
This process provides vital hydrostatic pressure relief, creates a tight moisture barrier, and improves drainage.
Guarantee boards remain intact during backfilling to avoid punctures, maximizing their protective capabilities against water infiltration and structural damage.
Membrane Wrapping Techniques
To effectively waterproof a basement, employing membrane wrapping techniques is vital for creating a robust moisture barrier. You’ll typically choose between positive-side and blind-side methods, depending on accessibility. Positive-side application occurs after wall construction, while blind-side installation happens before the foundation is built. Select from sheet membranes or fluid-applied options for maximum protection.
| Membrane Type | Application Method |
|---|---|
| Sheet Membranes | Positive-Side |
| Fluid-Applied | Blind-Side |
| Peel-and-Stick | Immediate Protection |
Proper surface preparation guarantees effective adhesion, preventing moisture infiltration and protecting the foundation.
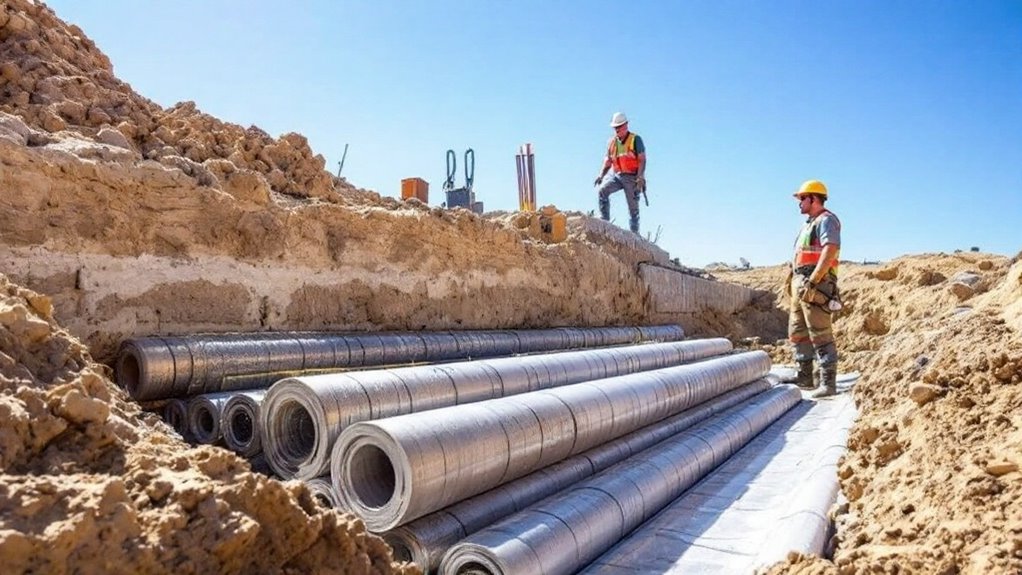
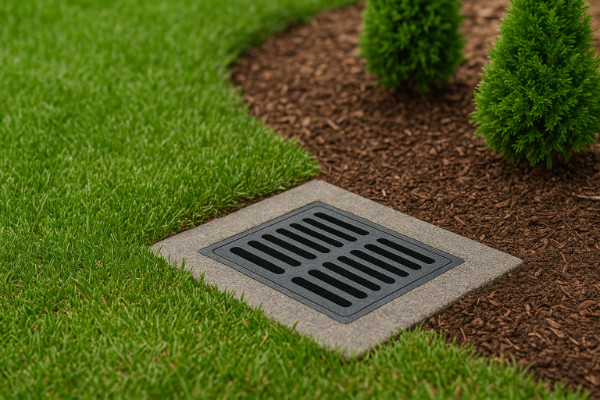
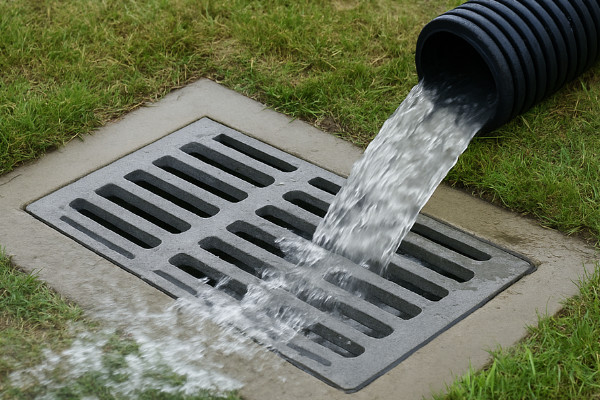
Drainage System Setup

To effectively manage water around your basement, start by carefully placing footer drains at the foundation’s base. This guarantees groundwater is redirected away from your home, reducing the risk of flooding.
Next, install a sump pump to actively remove any accumulated water, providing an added layer of protection during heavy rains.
Footer Drain Placement
When installing a footer drain, proper placement is essential for effective water management in your basement. Follow these key guidelines:
- Positioning: Place the perforated pipe directly against the footing, ensuring it’s below the basement floor slab level to intercept groundwater.
- Slope: Maintain a downward slope of at least 1% in the discharge pipe to prevent backflow.
- Trench Preparation: Excavate a trench alongside the walls and fill it with clean gravel, maintaining a 6-12 inch layer above the pipe to enhance drainage and filtration.
These steps will help mitigate hydrostatic pressure and protect your basement from water intrusion.
Sump Pump Installation
After setting up the footer drain, the next step is installing a sump pump to effectively manage any water that accumulates in your basement.
Start by determining the lowest point in your basement using a laser level, then excavate a pit for the pump and liner. Guarantee the liner shields the pump from debris.
If the low spot isn’t directly accessible, use a PVC feed line. Position the pit where water accumulation is highest.
Install the pump with an automatic float switch and a battery backup, routing the discharge line outside through a check valve.
Finally, test the system to guarantee proper operation.
Post-Installation Steps
Once you’ve completed the installation of your basement waterproofing system, it’s vital to follow specific post-installation steps to guarantee long-term effectiveness. Here are three essential actions:
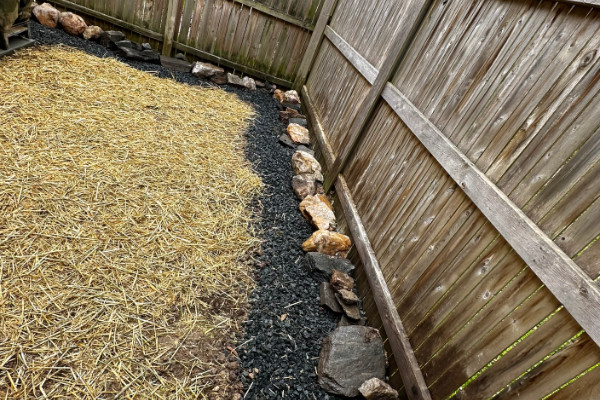
- Backfilling and Earthwork
- Backfill in layers to avoid shifting.
- Compact soil to prevent settling.
- Reinstall landscaping or paving as needed.
- Use protective drainage panels over the membrane.
- Final grade to direct water away from the foundation.
- Drainage System Activation
- Test the sump pump and French drain functionality.
- Verify proper water flow and monitor discharge pipes.
- Check for blockages in drain lines.
- Membrane Protection
- Regularly inspect for punctures or damage.
- Maintain drainage patterns around the landscape.
- Avoid heavy traffic over the membrane.
Cost and Considerations
Completing the installation of your basement waterproofing system is just the beginning; understanding the costs and considerations associated with it’s equally important.
Expect exterior waterproofing to range from $1,000 to over $15,000, depending on your basement size and the complexity of the method. Larger areas require more materials and labor, while soil moisture levels and foundation conditions influence your choices.
Remember that repairs for cracks or structural damage may add to your budget. Always consult professionals for the best approach, and consider potential permit requirements in your area to avoid unexpected delays and costs.
Maintenance and Monitoring
To guarantee your basement waterproofing system remains effective, regular maintenance and monitoring are essential. Follow these steps to protect your foundation:
- Inspect exterior walls twice a year for cracks or water damage.
- Evaluate drainage systems quarterly; verify sump pumps and gutters function properly.
- Assess waterproofing membranes every 3–5 years for integrity, focusing on seams and edges.
Address any issues immediately, documenting your findings to track changes over time.
Wrapping it all up for you
By waterproofing your basement from the exterior, you’re investing in your home’s longevity and comfort.
While some might worry about the initial cost or effort, think of it as a preventive measure that saves you from costly repairs later.
With proper preparation, a solid drainage system, and routine maintenance, you can protect your space from moisture issues for years to come. You’ll enjoy peace of mind knowing your basement is dry and secure.