8 Concrete Techniques for Mastery
Home » Blog: Nova Construction Pro » 8 Concrete Techniques for Mastery | Nova Construction Pro
Mastering Concrete Techniques: 8 Crucial Steps for Perfect Concrete Installation
Step 1: Site Preparation
Proper site preparation is the cornerstone of a successful concrete installation. Clearing debris, leveling the ground, and ensuring proper drainage are essential steps to prepare the site for concrete pouring. A well-prepared site ensures a smooth and lasting concrete surface. Removing rocks, roots, or existing structures from the site is crucial for a clean surface, and using a laser level or a string level will help ensure the ground is perfectly level, preventing uneven concrete surfaces.
Step 2: Formwork Construction
Constructing sturdy formwork is essential for shaping the concrete. Using high-quality materials like plywood or steel, depending on the project's size and complexity, is crucial. Precise measurements are necessary to create forms that match your project's specifications, ensuring a precise and quality finish.
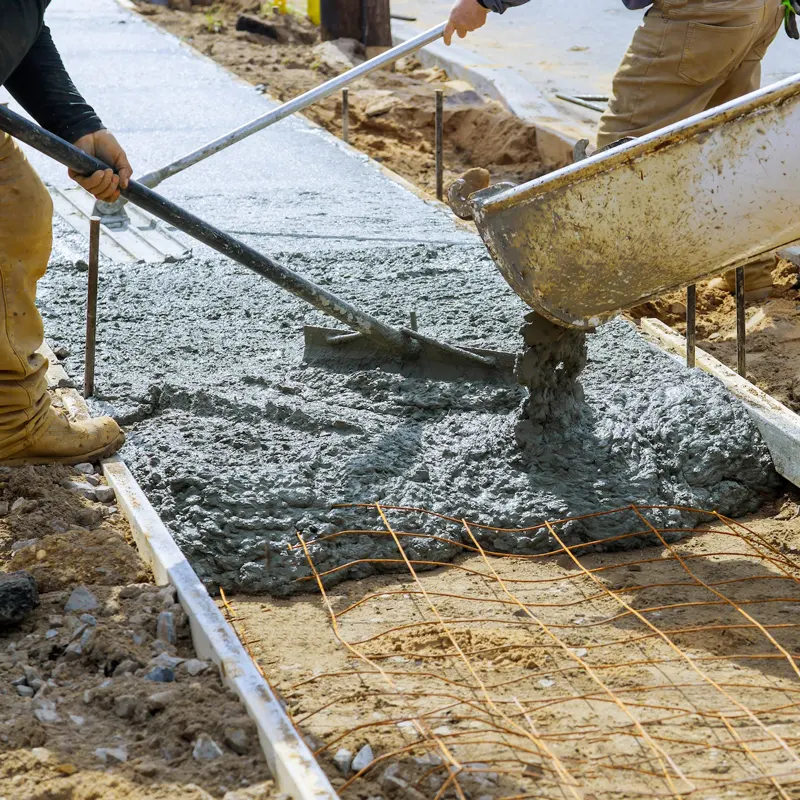
Step 3: Reinforcement with Advanced Concrete Techniques
Reinforcement, a critical step in applying concrete techniques, involves using rebar or mesh to enhance the concrete's strength and durability significantly. The correct placement of rebar within the forms and an even distribution of mesh are vital steps to provide the necessary structural support and prevent any future cracking. This process, integral to concrete techniques, ensures that your structure can withstand various stresses over time, maintaining its integrity and longevity. Employing these advanced reinforcement strategies is essential for any project aiming for durability and strength.
Step 4: Concrete Mixing and the Art of Concrete Techniques
Mixing concrete correctly stands as a testament to the meticulousness required in concrete techniques. It's not just about combining materials; it's about achieving the perfect harmony of strength, workability, and durability. Selecting the right mix for your specific project involves considering the required strength, aggregate size, and necessary additives to suit the project's needs. Thorough blending of the concrete mix is imperative to avoid any weak spots, ensuring a uniform and resilient finish. This step highlights the importance of precision and expertise in concrete techniques, directly influencing the project's overall success and longevity.
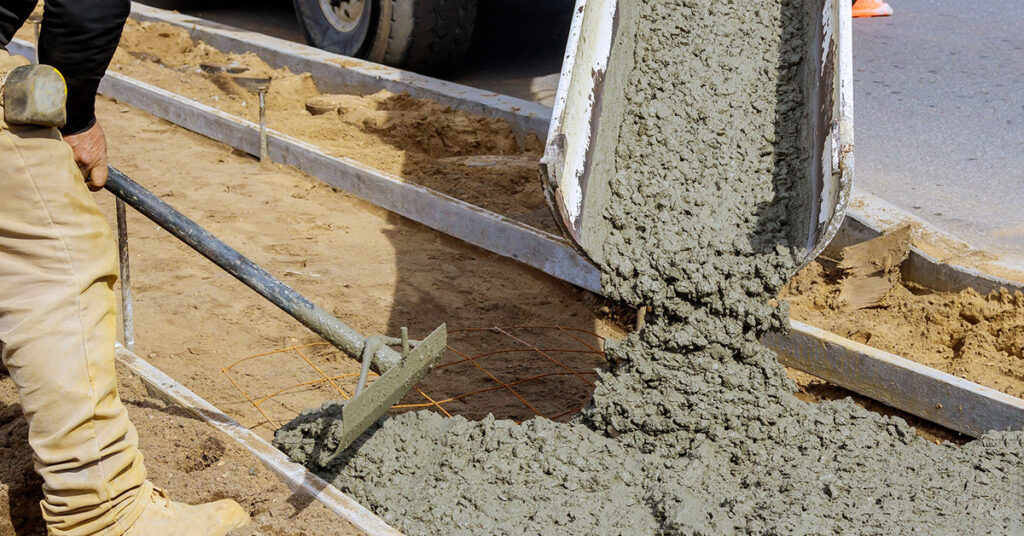
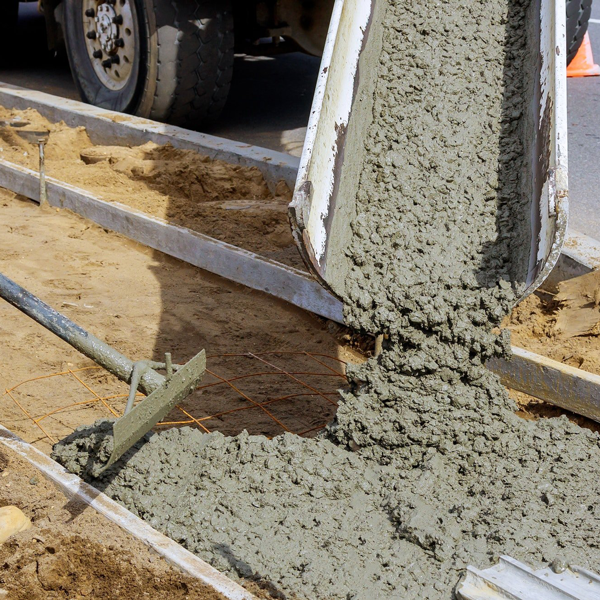
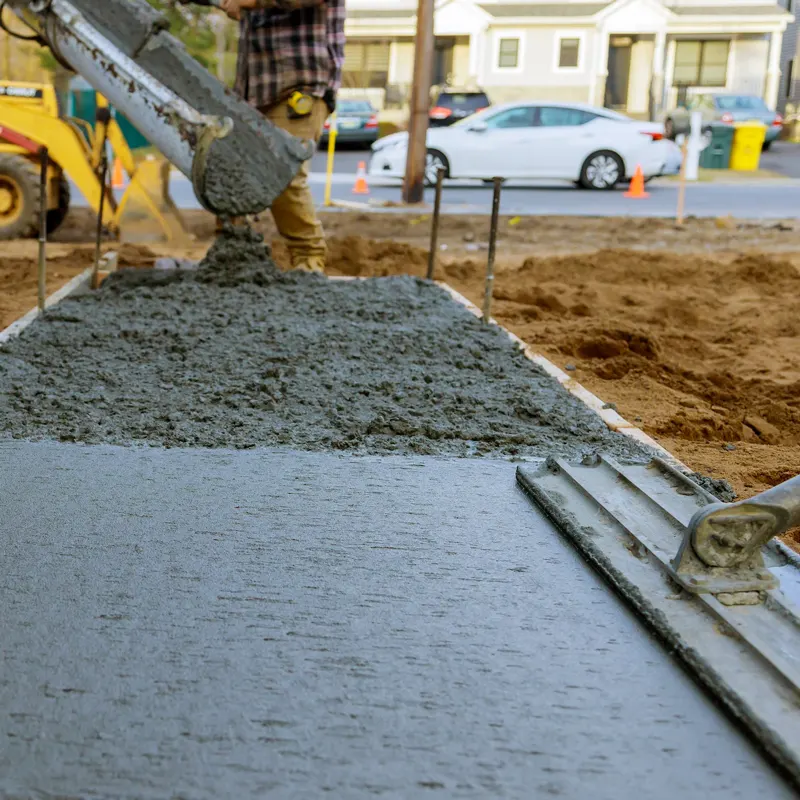
Step 5: Precise Pouring as a Key Concrete Technique
The act of pouring the mixed concrete into the prepared forms requires meticulous attention to detail, embodying a core principle of concrete techniques. It is imperative to pour carefully to avoid the formation of air pockets, which can compromise the structural integrity of the concrete. Ensuring an even distribution of the concrete mix is equally important, as it leads to a uniform and robust concrete surface. This precision in pouring is not just a step; it's a testament to the skillful application of concrete techniques, ensuring that the final product not only meets but exceeds expectations in durability and appearance.
Step 6: Surface Smoothing - Perfecting Concrete Techniques
The task of smoothing the concrete surface immediately after pouring is critical for achieving the desired aesthetics and functionality in any concrete project. Employing the right tools and techniques, such as trowels for fine smoothing and screeds for leveling, is essential. This step is a pivotal moment in concrete techniques, where attention to detail and craftsmanship come into play. Proper surface smoothing is not just about aesthetics; it's about creating a functional, durable surface that can withstand the elements and time. Through skilled application of these techniques, the concrete surface is transformed into a smooth, resilient, and visually pleasing finish.
Step 7: Proper Curing - Essential Concrete Techniques for Durability
The curing process stands as a fundamental aspect of concrete techniques, crucial for achieving optimal strength and durability in concrete installations. This step involves a meticulous process of keeping the concrete moist and shielding it from extreme temperatures over an extended period. The significance of curing in concrete techniques cannot be overstated, as it directly influences the concrete's ability to develop its full strength potential and durability over time. Proper curing practices ensure that the concrete structure will maintain its integrity and function under various environmental stresses, marking a critical phase in the lifecycle of any concrete project.
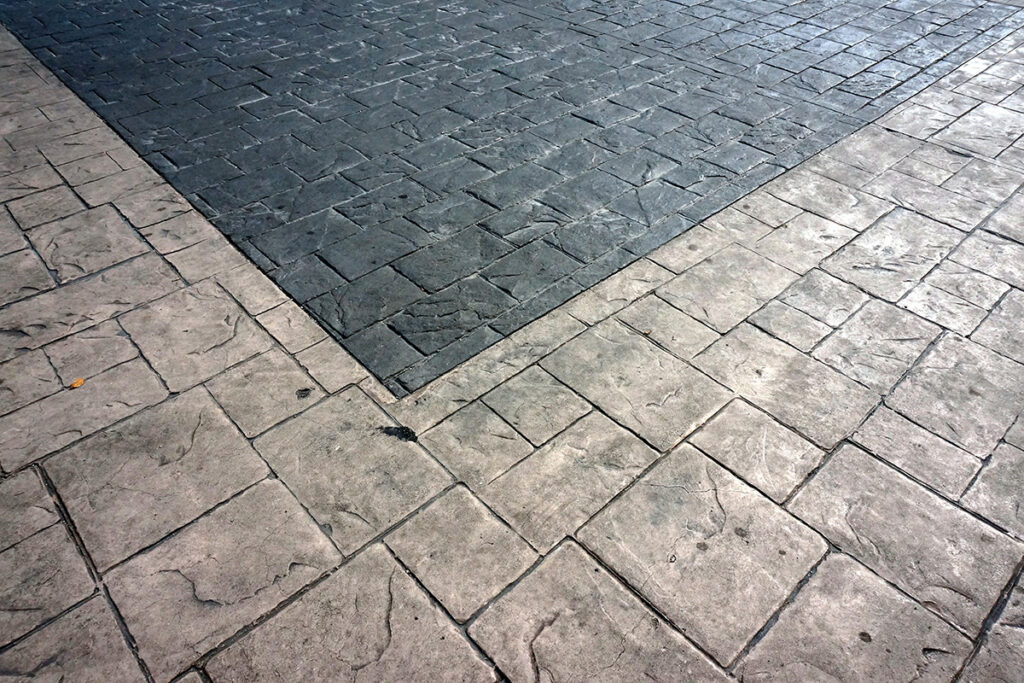
Step 8: Final Touches - The Artistry of Concrete Techniques
The application of final touches to a concrete project is where the artistry of concrete techniques truly shines. This phase includes the incorporation of edge details, textures, and color treatments, which are essential for enhancing the aesthetic appeal and functionality of the concrete surface. These finishing touches are a testament to the finesse and craftsmanship involved in concrete techniques, allowing for a personalized and refined finish. Whether it's achieving a specific texture that complements the landscape or applying a color treatment that adds vibrancy, these final steps encapsulate the essence of concrete techniques, bringing the project to its completion with elegance and style.

By following these 8 crucial steps, you can master concrete techniques for a flawless installation. For more information and professional assistance, visit our concrete services page, check out our driveway solutions, explore our patio designs, or read more on our Main Blog Page. Don't forget to see what our customers say about us on TrustIndex. At Nova Construction Pro, we are committed to bringing your concrete vision to life.