Preparing for Driveway Installation
A Step-by-Step Guide for Homeowners
Preparing for Driveway Installation
Preparing for driveway installation is a vital step in ensuring a successful home improvement project that enhances your property's curb appeal and functionality. Whether you're embarking on this project yourself or hiring a contractor, understanding the critical steps involved is essential for a smooth installation process. This guide will delve into these necessary preparations, offering insights and advice to help you get ready for your new driveway.
Choosing the Right Contractor for Driveway Installation
The first step towards a new driveway is selecting a reliable contractor with a proven track record, necessary licensing, and insurance. Positive reviews and a strong portfolio underscore their credibility. Asking for references is also key to confirming their expertise in driveway projects.
Securing a Detailed Contract
After choosing your contractor, establish a comprehensive contract that includes the work scope, project timeline, payment schedule, and warranty information. Clear communication channels about the project's status are essential for a smooth installation process.
Your Preparatory Role
Understand your responsibilities in readying your property for the installation. Your contractor should provide a list of preparatory tasks, ensuring you're fully prepared for the project's commencement, paving the way for a successful driveway installation.
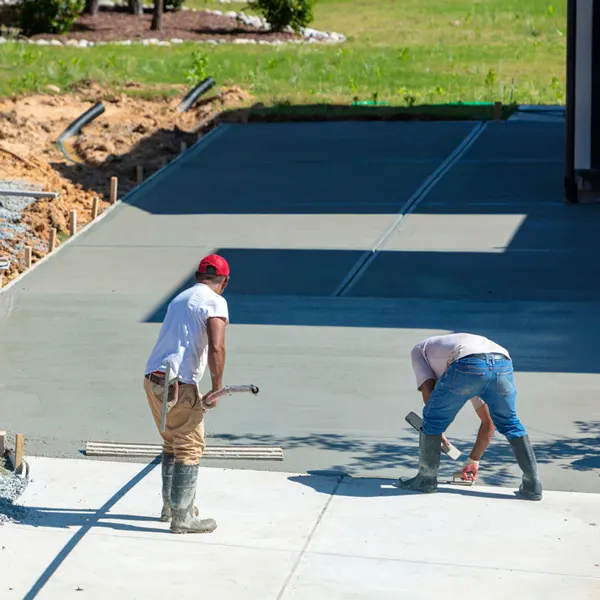
Preparing for Driveway Installation - Clearing the Area
Essential for Efficient and Safe Driveway Installation: Clearing the workspace is a critical first step in preparing for driveway installation. This process involves removing any debris, plants, or existing structures that may be present in the designated area. Ensuring that the area is free from obstructions is key to a smooth installation process.
Removal of Obstacles
Setting the Stage for Your New Driveway: Your preparation might include removing old paving materials, trimming overhanging branches, or relocating garden decorations. This not only creates a clear area for the installation crew but also allows for precise measurements, which are essential for a well-executed driveway.
Considering Landscaping Enhancements
Opportunities for Improvements Alongside Driveway Installation: As you clear the area for your new driveway, consider it an opportune time to think about any landscaping changes or improvements. This could be an ideal moment to enhance the overall aesthetics of your property, ensuring that your new driveway complements the surrounding landscape.

Safety in Driveway Installation
Prioritizing Safety:
Ensuring Safe Practices:
Safety is vital during driveway installation. Identify and manage hazards to prevent accidents or damage.
Marking Utility Lines:
Protecting Property and Workers:
Identify and mark gas, water, and electricity lines to prevent costly damage and dangerous situations during excavation.
Contractor Collaboration:
Ensuring Safety:
Discuss with your contractor their approach to identifying and protecting utility lines for a smooth and secure installation process.
Utility Marking Information in Northern Virginia:For more information on utility marking in Northern Virginia, visit va811.com.

Understanding the Driveway Installation Process
Managing Expectations: Understanding each step in driveway installation is crucial for realistic expectations and property preparation. Each phase ensures driveway durability and aesthetic appeal.
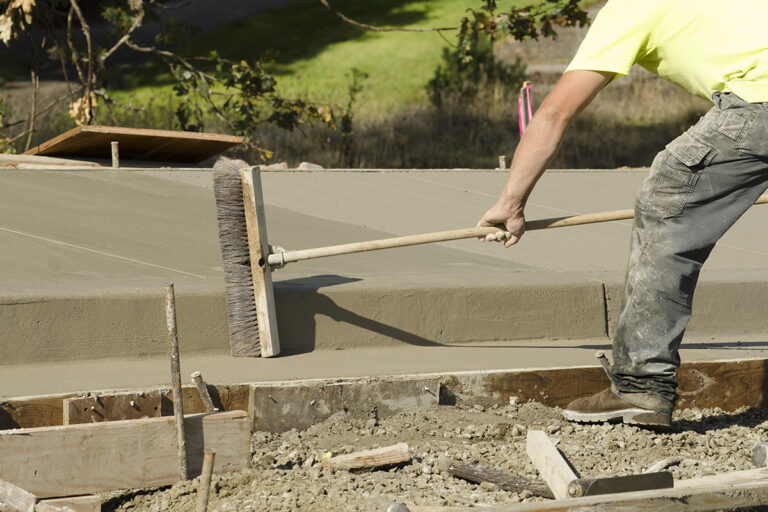
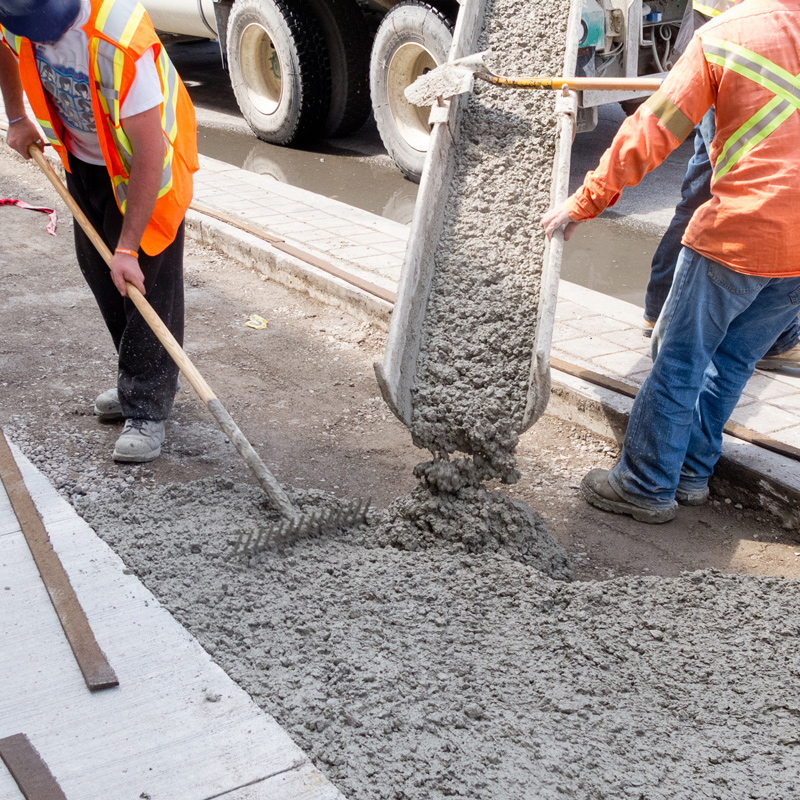
Excavation: Ground Preparation
Preparing for Your New Driveway: Excavation involves removing soil and existing driveway materials to create a stable base. Factors like soil type, chosen material, and climate influence excavation depth. Skilled professionals use heavy machinery to navigate around utilities safely.
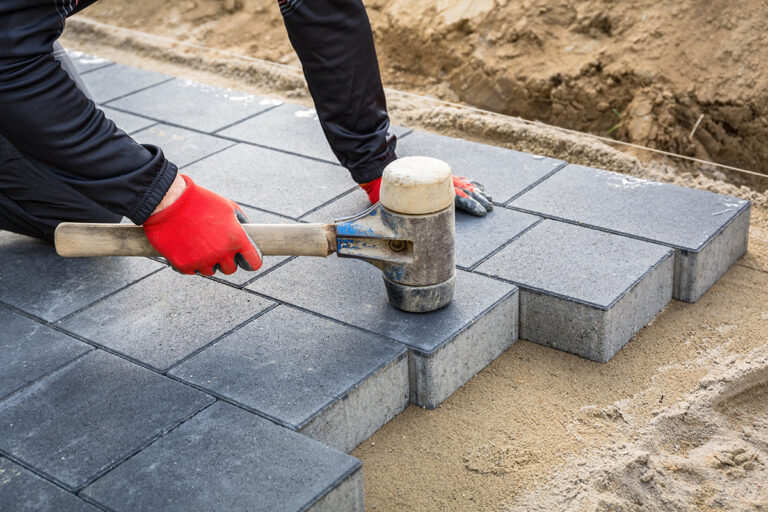
Base Preparation: Foundation Laying
Ensuring Driveway Stability: Base preparation involves spreading and compacting sub-base material like crushed stone or gravel. It stabilizes the driveway, aids drainage, and prevents water accumulation. Proper compaction and material selection are crucial for durability and load-bearing capacity.
Preparing for Weather Conditions
Weather conditions can significantly impact the process of driveway installation. Planning for weather contingencies is essential to ensure a smooth and successful project completion.
Choosing the Right Time of Year
Optimizing Weather Conditions for Driveway Installation: Selecting the right time of year for your driveway installation is crucial. Ideally, aim for a period when the weather is typically mild. Both rain and extreme temperatures can cause delays in the project and potentially affect the quality of the installation. Understanding the seasonal weather patterns in your area can help in scheduling the project during the most favorable conditions.
Handling Weather-Related Delays
Strategies for Minimizing Weather Impact on Installation: Discuss with your contractor their policies regarding weather-related delays. It's important to know how they plan to manage unexpected weather changes and protect the installation site under such conditions. For example, contractors might use tarps or other coverings to shield the work area from rain or excessive heat. A clear understanding of these strategies helps in preparing for any weather-related interruptions.
Driveway Post-Installation Care
Proper care after driveway installation is vital for longevity and appearance maintenance. Understanding your driveway's specific requirements ensures it stays in optimal condition.
Initial Care
Immediate Steps After Installation: After driveway installation, follow care instructions such as avoiding use for a set period to allow proper curing. Adhering to these guidelines prevents damage or imperfections, determined by material and weather conditions.
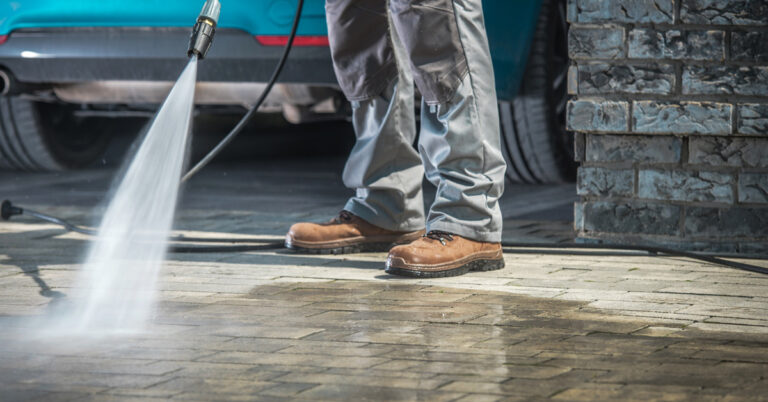
Sealing and Maintenance
Preserving Durability and Appearance: Seal your driveway to protect against weather damage, stains, and wear, especially for materials like asphalt and concrete. Regular cleaning and occasional washing maintain appearance and functionality. Consult your contractor for material-specific sealing and cleaning advice.
Ongoing Maintenance
Ensuring Longevity and Pristine Condition: Regular maintenance, including prompt repair of cracks and routine cleaning, is essential for extending your driveway's life and preserving its appearance.

Conclusion:
Key Takeaways for Successful Driveway Installation: Preparing for a driveway installation is a multifaceted process that extends beyond the simple selection of materials. It's a journey that requires attention to detail, careful planning, and an understanding of the installation process.
Ensuring a Smooth Installation
Laying the Groundwork for Your Driveway: By following the outlined steps, you can prepare your property effectively, ensuring that the installation process is as smooth and efficient as possible. Each phase, from choosing the right contractor to post-installation care, contributes significantly to the overall success of the project.
The Foundation of a Long-Lasting Driveway
Creating a Driveway That Complements Your Home: A well-prepared driveway installation project lays the foundation for a functional and aesthetically pleasing driveway. Such a driveway not only enhances the curb appeal of your home but also serves as a functional asset for years to come.
Need More Information?
Contact Us for Expert Assistance: If you have any questions or need further guidance on preparing for your driveway installation, our team is here to help. For personalized advice and professional assistance, please don't hesitate to contact us at Nova Construction Pro. We’re committed to ensuring your driveway installation is a seamless and rewarding experience.